Setting Image Properties
How to set the optional properties of an image using the Image Manager of the .
- If the image has already been inserted, right-click on the image and select Properties... from the drop down list - OR - Click on the Properties tab of the Image Manager if currently adding the image.
- Click the Lock Ratio
 / Unlock Ratio
  button to unlock or lock the width/height ratio at any time. Unlocking the ratio enables the width and/or height to be modified independently.
- In the Width text box, enter the width in pixels which the image will be displayed as.
- In the Height text box, enter the height in pixels which the image will be displayed as.
- At Image Alignment, click the Alignment Selector
 button and select the alignment for this image.
- At Border Color, click the Color Picker button and select the border color. Note: A Border Width must be entered to display the border.
- In the Border Width text box, enter the pixel width for the border - OR - Use the Increase and Decrease arrows.
- In the Alt Text text box, enter the alternative text for this image.
- In the Long Description text box, enter the long description for this image.
- At Margin, enter a pixel value or use the Increase and Decrease arrows to add spacing between the image and the text. Spacing can be added to the Top, Bottom, Right and Left of the image.
- At Class, select a class for this image.
- Click the OK button.
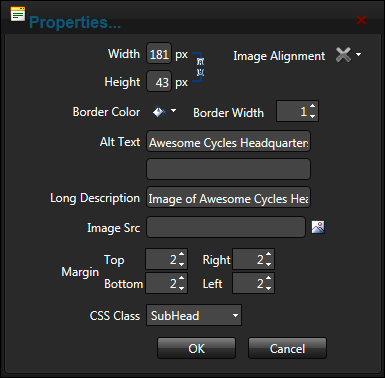
Setting the properties of an existing image
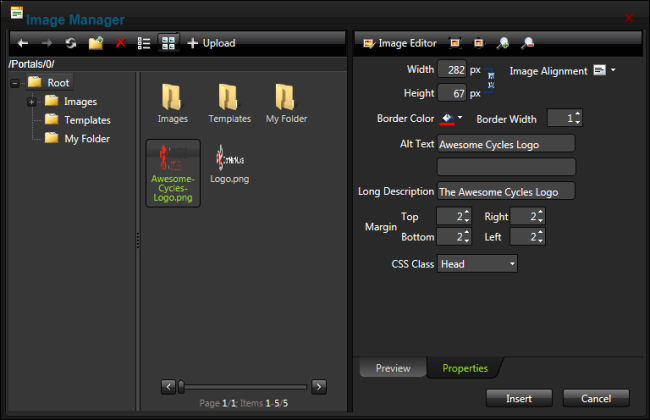
Setting the properties of an image during insertion
Open topic with navigation